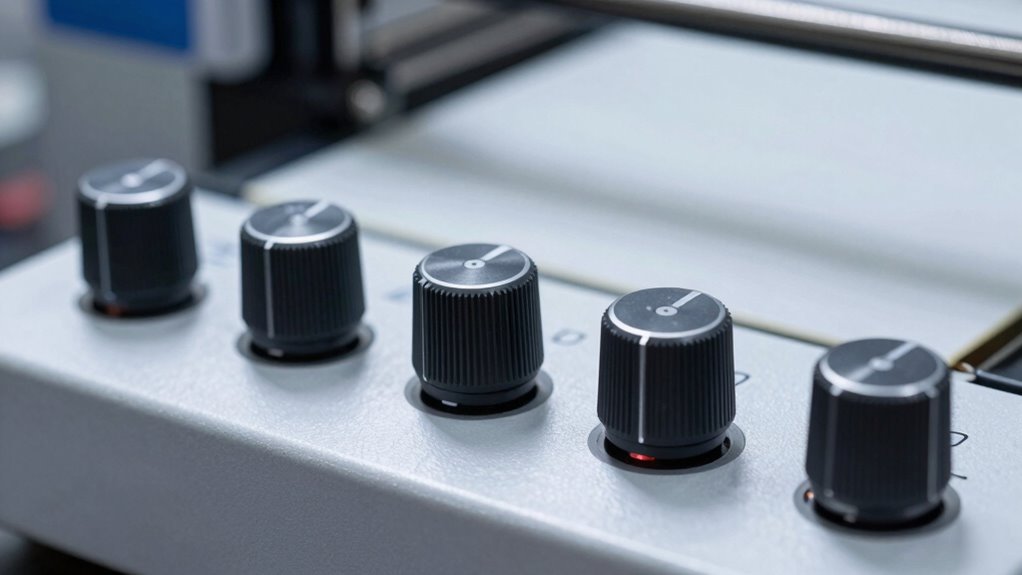

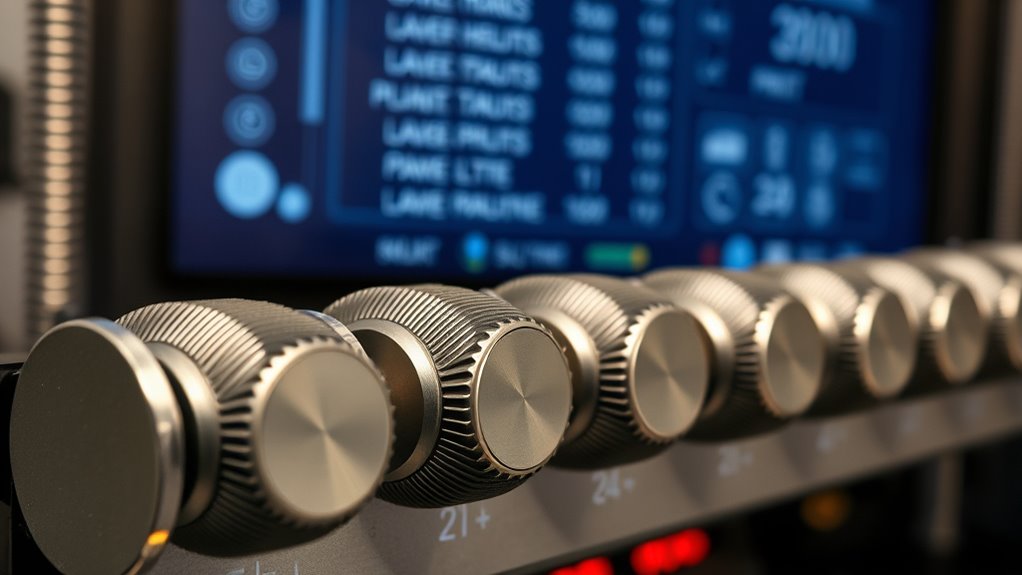
To control your print quality, focus on five key slicer settings: temperature, which affects filament melting and adhesion; print speed, influencing detail and bonding; layer height, determining resolution; retraction, reducing stringing and blobs; and cooling, which improves surface finish. Adjusting these knobs carefully can make a huge difference in your final results. Keep experimenting with these settings, and you’ll uncover how to optimize your prints for perfect quality.
Key Takeaways
- Filament temperature significantly affects layer bonding, surface finish, and flow consistency during extrusion.
- Print speed influences detail accuracy, surface quality, and structural strength; slower speeds improve precision.
- Adjusting temperature and speed together helps prevent issues like stringing, blobs, or weak layers.
- Fine-tuning these settings through incremental changes optimizes print quality and reduces material waste.
- Documenting and customizing settings for different filaments and models ensures consistent, high-quality results.
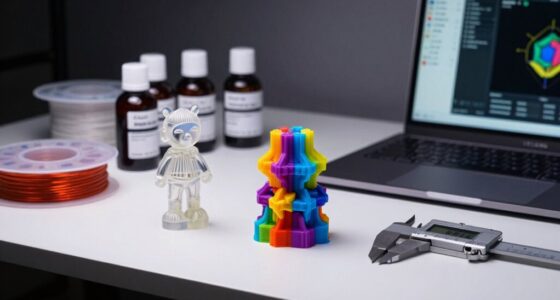
Have you ever wondered how to enhance your 3D prints for quality and efficiency? It all comes down to understanding and adjusting your slicer settings, especially the key knobs that influence your print’s outcome. Two of the most impactful settings are filament temperature and print speed. These parameters directly affect the bonding between layers, surface finish, and overall strength of your print. Getting them right can mean the difference between a flawless model and a failed print.
Filament temperature is essential because it determines how well the filament melts and adheres during extrusion. If your temperature is too low, the filament won’t melt fully, leading to poor layer bonding, rough surfaces, and potential under-extrusion. Conversely, setting it too high can cause stringing, blobs, or warping, especially with sensitive materials like ABS or PETG. The ideal filament temperature varies depending on the filament type and brand, so it’s essential to start with manufacturer recommendations and fine-tune based on your specific printer and filament batch. Keep in mind that temperature impacts filament flow and adhesion, so dialing it in correctly results in cleaner, more precise prints.
Print speed is another pivotal factor that influences quality and efficiency. When you set a high print speed, your printer moves faster, reducing print times but risking issues like poor layer adhesion, missed steps, or inaccuracies. Slower speeds allow the filament to be deposited more precisely, resulting in smoother surfaces and stronger layers. However, too slow can lead to excessive heat build-up, stringing, or unnecessary delays. Find a balance that allows for detail and strength without sacrificing efficiency. Many slicers let you customize print speed for different parts of the model or different filament types, enabling you to optimize for both detail and speed.
Adjusting these settings isn’t just about trial and error; it’s about understanding how filament temperature and print speed work together. For instance, if you increase your filament temperature, you might need to reduce your print speed to prevent oozing or stringing. Conversely, if you’re printing at a slower speed and see rough surfaces, slightly lowering the filament temperature could improve flow and finish. Regularly experimenting with these settings and observing the results helps you develop a personalized profile that yields high-quality prints efficiently. Additionally, some slicers include advanced features that can help fine-tune your print parameters even further. Remember, small tweaks can make a big difference, so tweak patiently, test thoroughly, and document your ideal settings. Mastering filament temperature and print speed enables you to produce consistently excellent 3D prints with minimal waste and maximum efficiency.

3DTOOLS Resin 3D Printer Temperature Controller Heating Thermostat Temp Control for LCD, DLP ELEGOO,ANYCUBIC,CREALITY LCD DLP 3D Printer
【controlled and Keep temperature】This heater is design for control your resin printer ,make you can print at any…
As an affiliate, we earn on qualifying purchases.
As an affiliate, we earn on qualifying purchases.
Frequently Asked Questions
How Do I Choose the Best Slicer Settings for Different Filament Types?
To select the best slicer settings for different filament types, start by checking filament compatibility and adjusting temperature calibration accordingly. For each filament, set the right extruder temperature, bed temperature, and print speed. Experiment with small test prints, tweak settings based on results, and document your successful configurations. This guarantees ideal adhesion, layer quality, and strength, giving you consistent, high-quality prints every time.
Can I Automate Slicer Settings for Multiple Print Jobs?
Yes, you can automate slicer settings for multiple print jobs through slicer automation and print profile management. By creating and saving custom profiles tailored to different filament types and print requirements, you can quickly apply consistent settings across various projects. Many slicers support profile importing and exporting, making it easier to streamline your workflow, reduce manual adjustments, and guarantee ideal print quality every time.
How Do Slicer Settings Affect Print Speed Versus Quality?
You want perfect prints fast? Lower your layer height and increase print speed, but beware—your quality will suffer, and your prints might look like abstract art. For crisp details, bump up layer height and slow down print speed. Balancing these settings lets you choose between swift, rough results or meticulous, time-consuming perfection. Remember, in 3D printing, speed often comes at the expense of quality, so pick wisely.
Are There Recommended Default Slicer Profiles for Beginners?
Yes, there are default profiles you can use as a beginner. These default profiles are designed with beginner recommendations in mind, simplifying your setup process and helping you achieve decent print quality without extensive adjustments. Start with these profiles to get comfortable with your 3D printer. As you learn, you can tweak settings to improve quality or speed. Using default profiles gives you a solid foundation for successful prints.
How Can I Troubleshoot Print Issues Caused by Slicer Settings?
To troubleshoot print issues caused by slicer settings, start by checking filament compatibility to make sure your filament matches your printer’s specifications. Next, verify that your nozzle temperature is appropriate for your filament type. Adjust these settings if needed, then re-slice your model. Consistently reviewing these parameters helps identify the root cause of problems like poor adhesion or stringing, guaranteeing better print quality.

Creality Ender 3 V3 SE 3D Printer, 250mm/s Faster Print Speed CR Touch Auto Leveling Sprite Direct Extruder Dual Z-Axis Auto Filament Loading Ender 3 Upgrade 3D Printer Print Size 8.66×8.66×9.84 inch
【250mm/s High-speed Printing】Creality Ender 3 V3 SE 3d printer supports a maximum printing speed of 250mm/s, 2500mm/s² acceleration.The…
As an affiliate, we earn on qualifying purchases.
As an affiliate, we earn on qualifying purchases.
Conclusion
Now, with these five knobs in your hands, you hold the power to transform a simple filament into a masterpiece. Imagine each adjustment as a brushstroke, shaping every layer into a smooth, detailed canvas. As you fine-tune your slicer settings, watch your prints come alive—vivid, precise, and flawless. With each turn, you’re crafting not just objects, but a vision brought to life, one perfect layer at a time.

Creality 3D Printer Tool Kit, 74Pcs 3D Printing Tool Wrap Kit Assembly/Removal/Filament Cutting Set 3D Printer Accessories for All FDM Printers Cleaning Finishing Printing
【Professional Versatility & Wide Application】Disassemble, assemble, connect, grind, cut, cleaning, scrape, shovel.This 3D Printer Tool Wrap Kit Pro…
As an affiliate, we earn on qualifying purchases.
As an affiliate, we earn on qualifying purchases.

3D Printer DC 24V 4010 Extruder Hot End Cooling Fan, 40x40x10mm for 3D Printer, Cooling Fan for Creality Ender 3/Ender 3 Pro/CR-10S, 3D Printer Accessories Parts with 2 Pin Cable Line and 8000 RPM
Fit For 3D Printer Models: The 1pc DC 24V 4010 extruder hot end cooling fan is compatible with…
As an affiliate, we earn on qualifying purchases.
As an affiliate, we earn on qualifying purchases.